


Convenient
Get it at your preferred time and place

Reliable
You’d get good quality wheelie from us

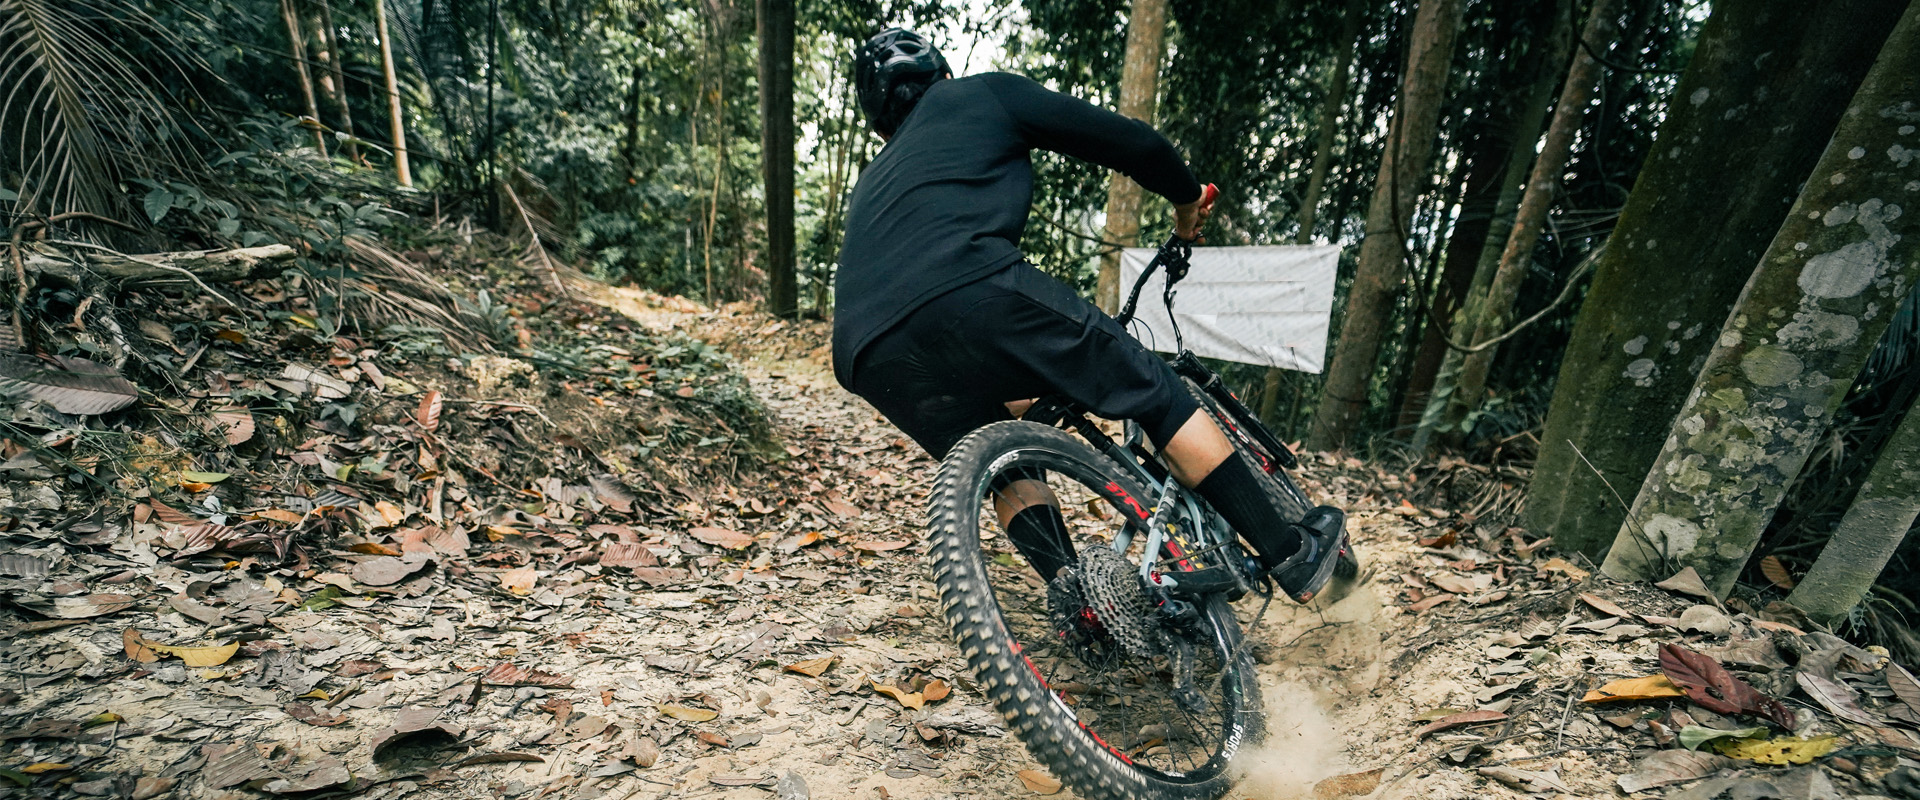
Active
Just be active & alive
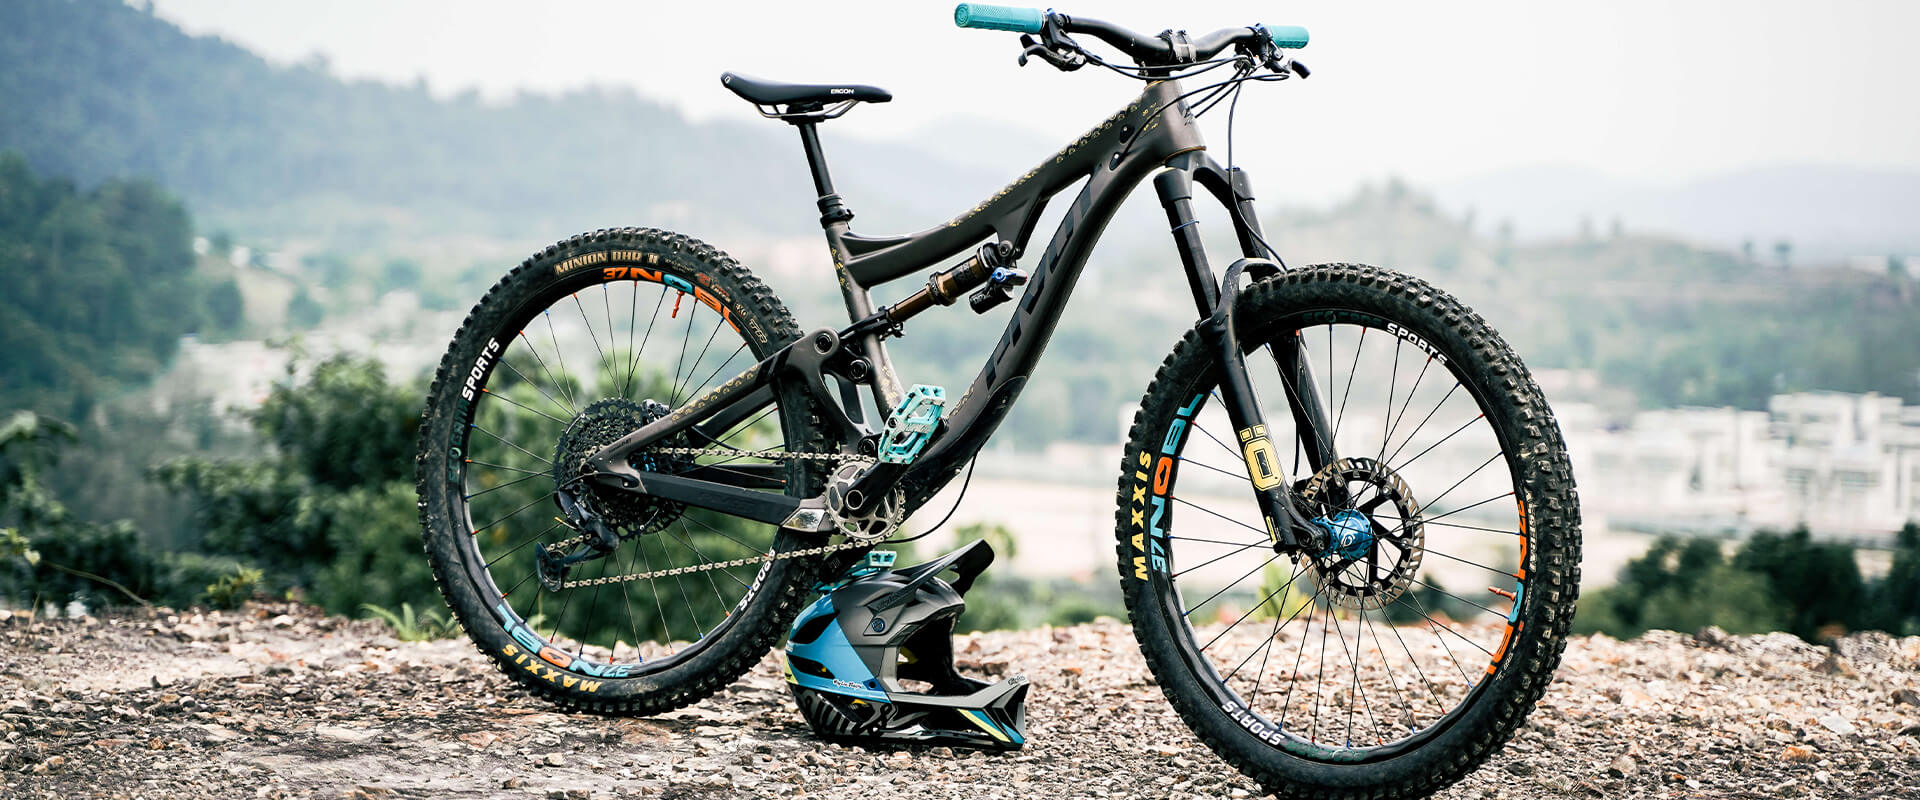
Welcome to Ecocana Sports, the leading mountain bike shop in Malaysia for premium mountain bike components. We specialize in carbon mountain bike components, electric full suspension bikes, and performance upgrades from brands like Magura, NOBL, and Onyx.


Blogs
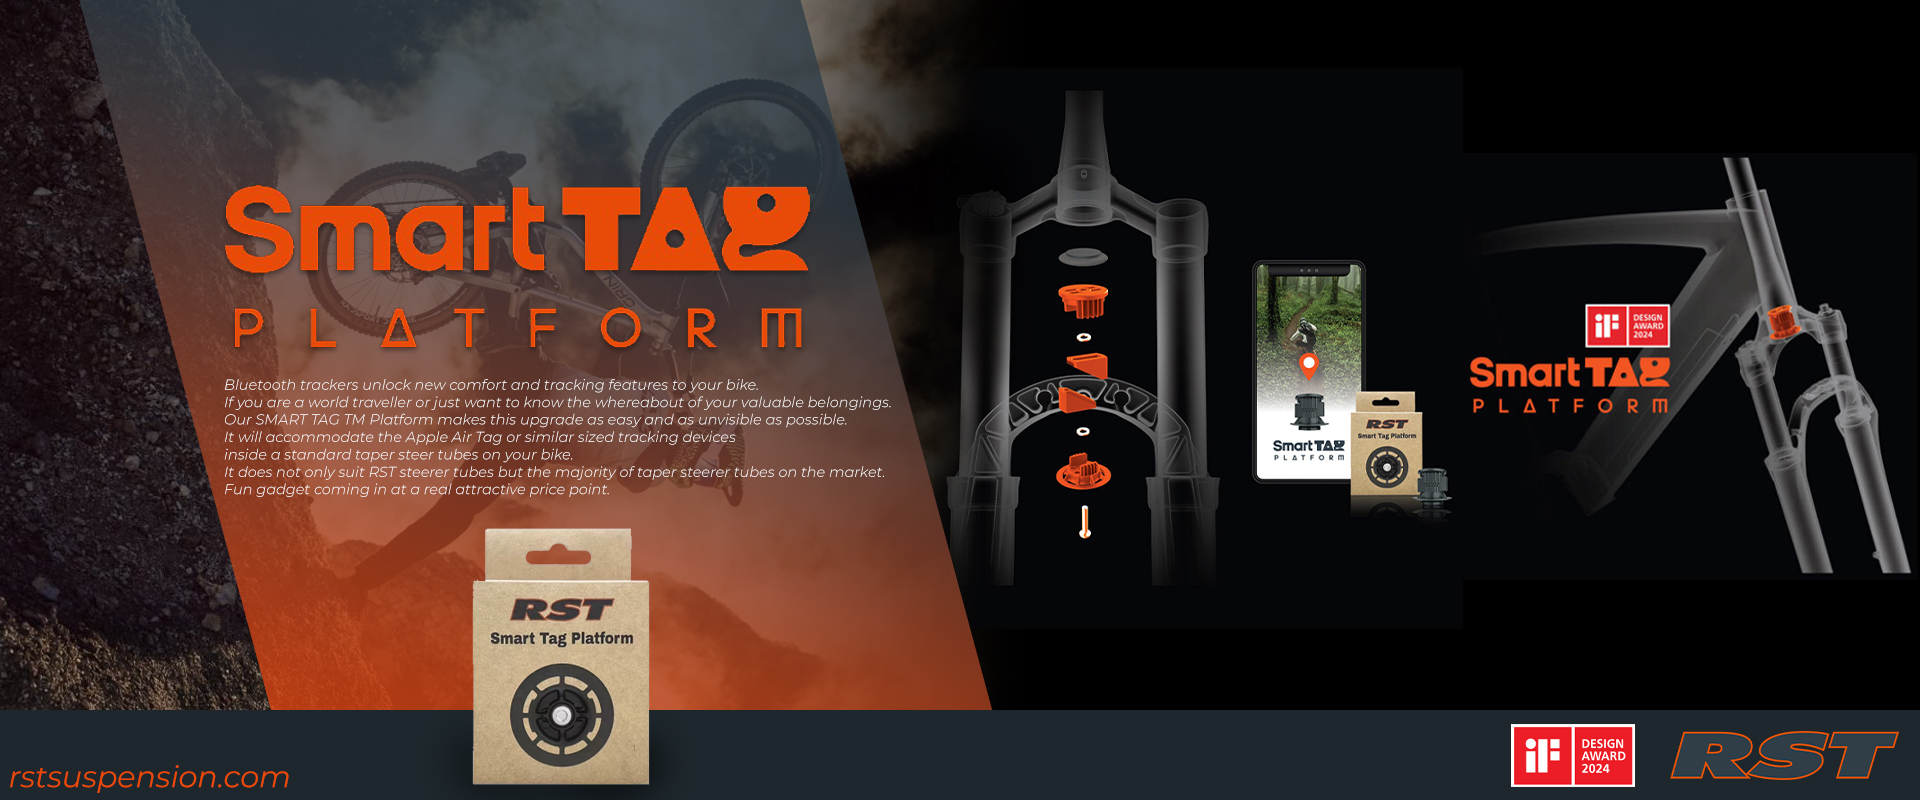
RST Magnet-Based Mass Damper: The Future of MTB Vi..

Junior MTB Progress: How Youth Mountain Bikers Bui..
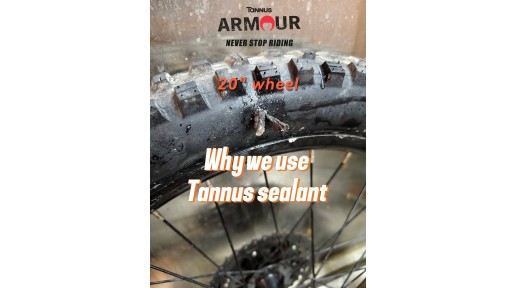
How to Fix a Sidewall Cut: Why We Use Tannus Seala..
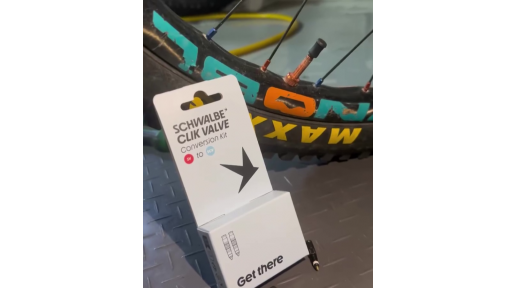
Schwalbe Clik Valve Guide: How to Convert Your Pre..
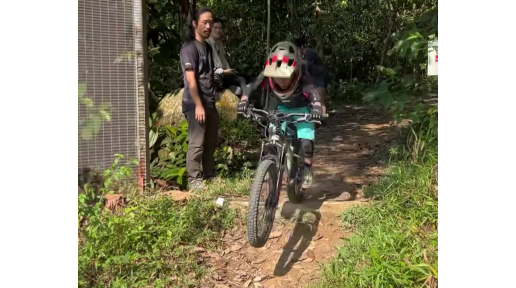
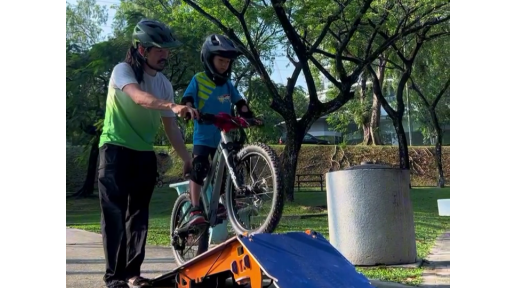
How to Teach Kids the MTB Push Technique | Junior ..
Retro MTB Upgrade: Magura HS33 Hydraulic Rim Brake..

Junior MTB Coaching: Conquering Mersing’s Yip Yip ..
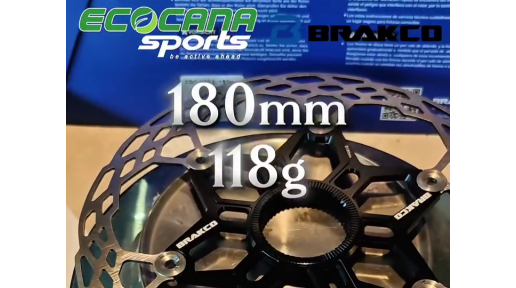
Brakco Floating Disc Rotor Weight Guide: 140mm, 16..
Portable Bike Ramp: Mini ramp to Tabletop for Begi..
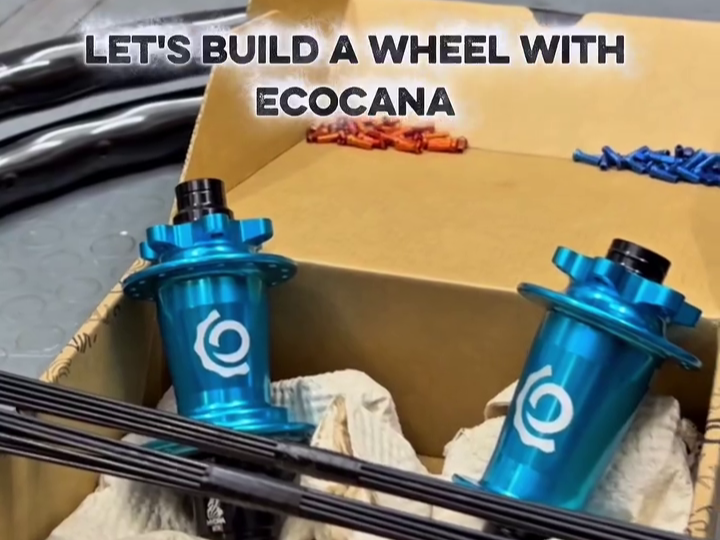
How to Build a Wheelset for Your Bicycle
Building your own wheelset is one of the most rewarding skills in cycling. It’s part precision, part patience, and 100% satisfaction when you roll away on a wheel you built with your own hands.
Here’s a simple, step-by-step guide based on our latest workshop video:
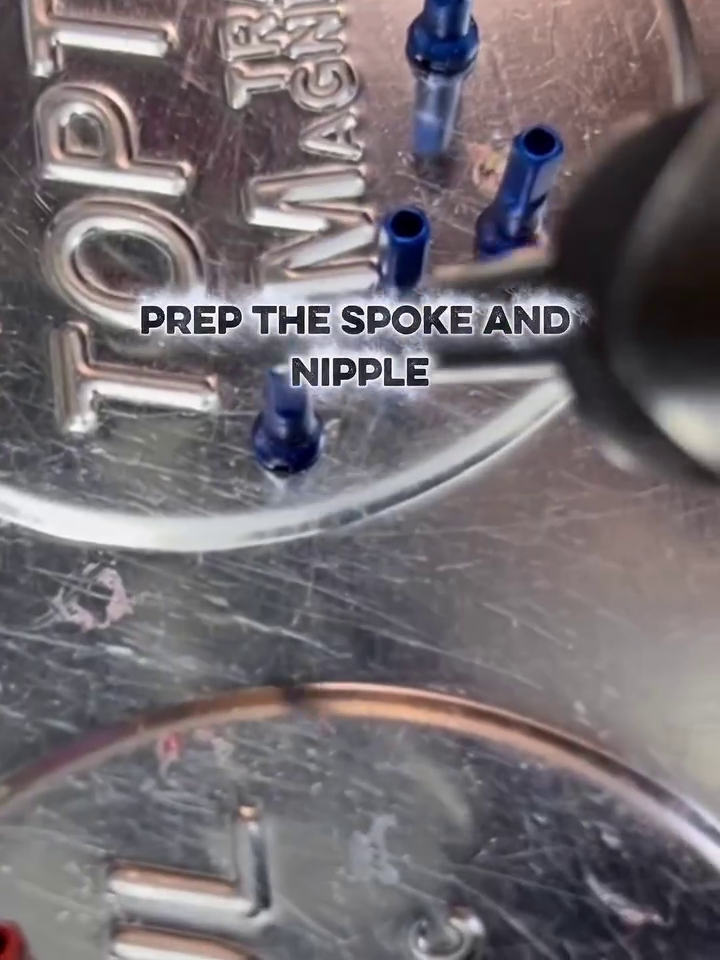
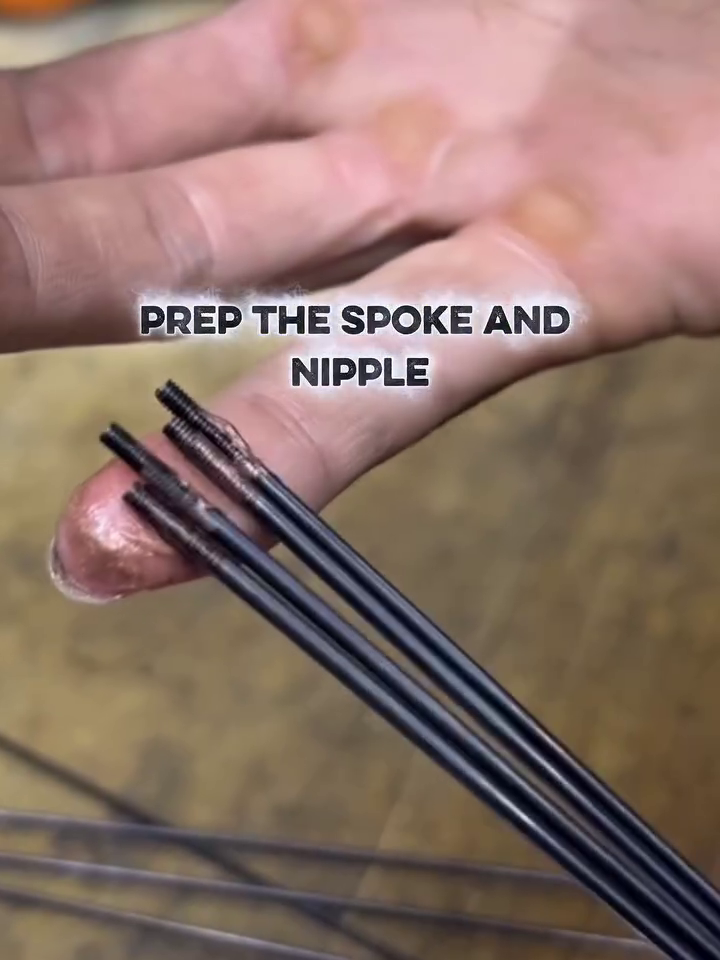
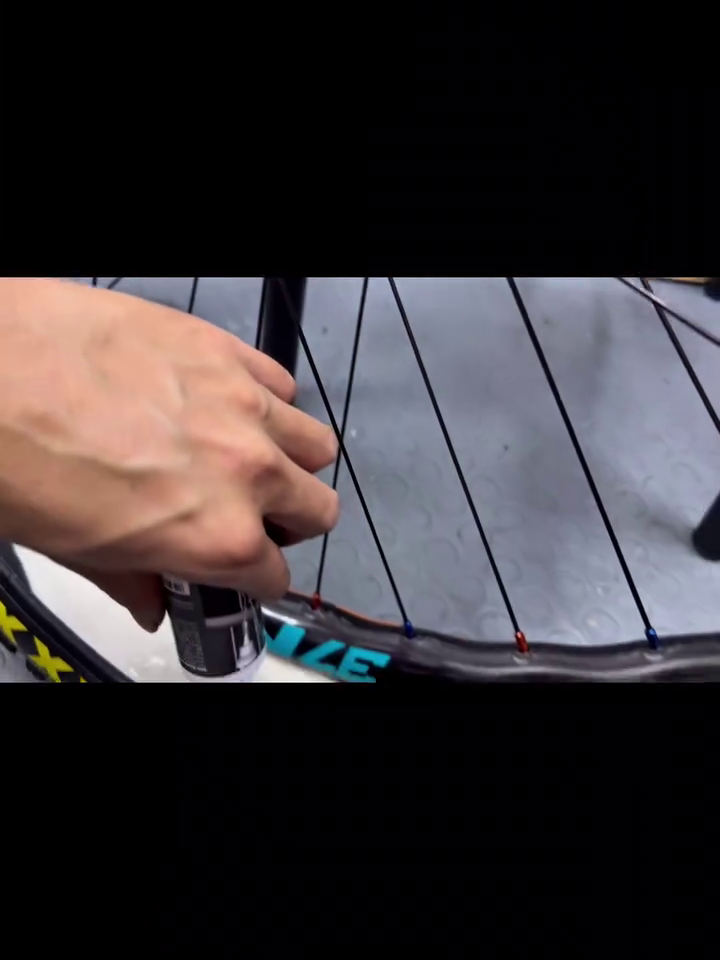
1: Prep the Spokes and Nipples
Start clean. Before anything else, prepare your spokes and nipples
-Apply a small dab of grease to each nipple
-Apply a small dab of anti seize to the spoke threads
-this prevents corrosion and makes future truing easier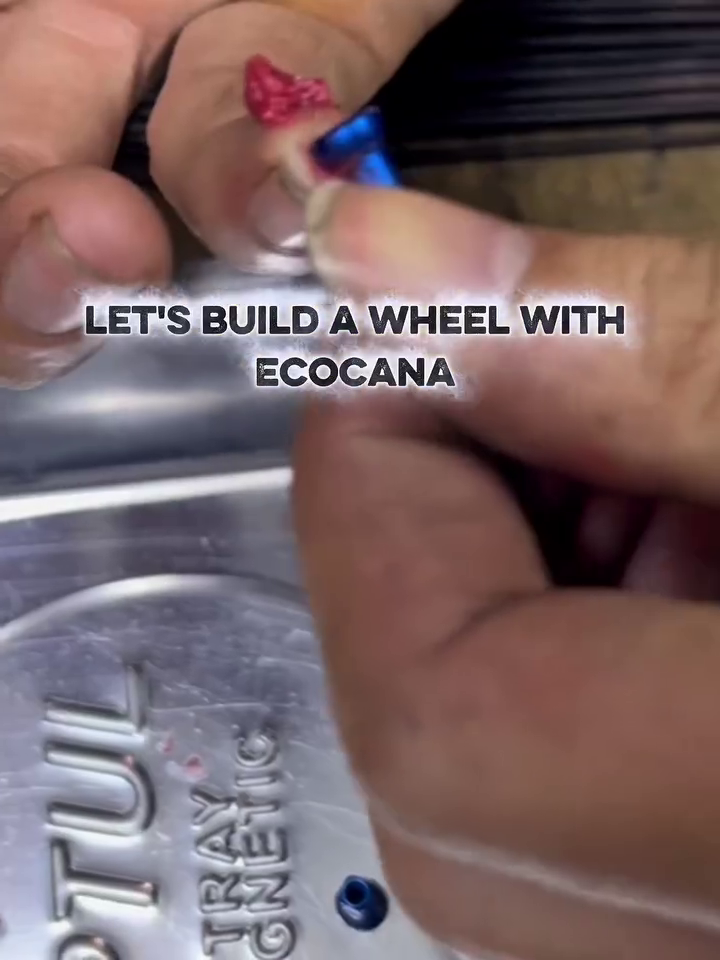
2: Screw on the Nipples
Next, begin threading each nipple onto its spoke by hand. This ensures smooth rotation and avoids cross-threading. You'll tighten them more later during the truing process.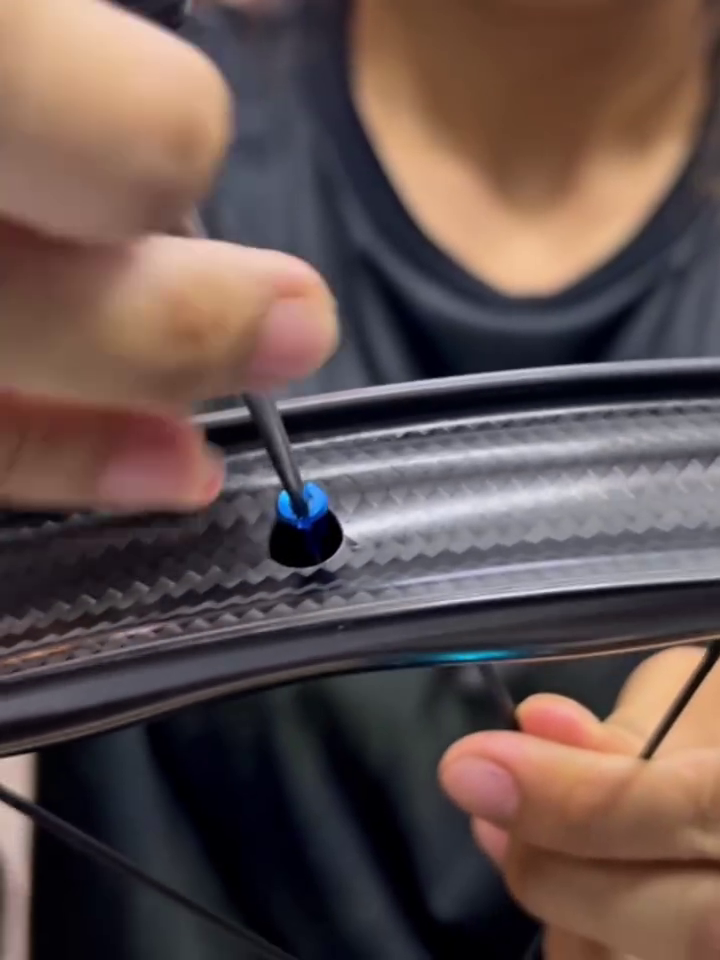
3: Lace the Wheel
Now comes the most technical part-- lacing
Follow your chosen pattern (most use a 3-cross pattern for strength)
-Start with the inner spokes from the hub flange.
-Then insert the outer spokes. weaving them over and under.
-Keep your lacing symmetrical on both sides of the wheel.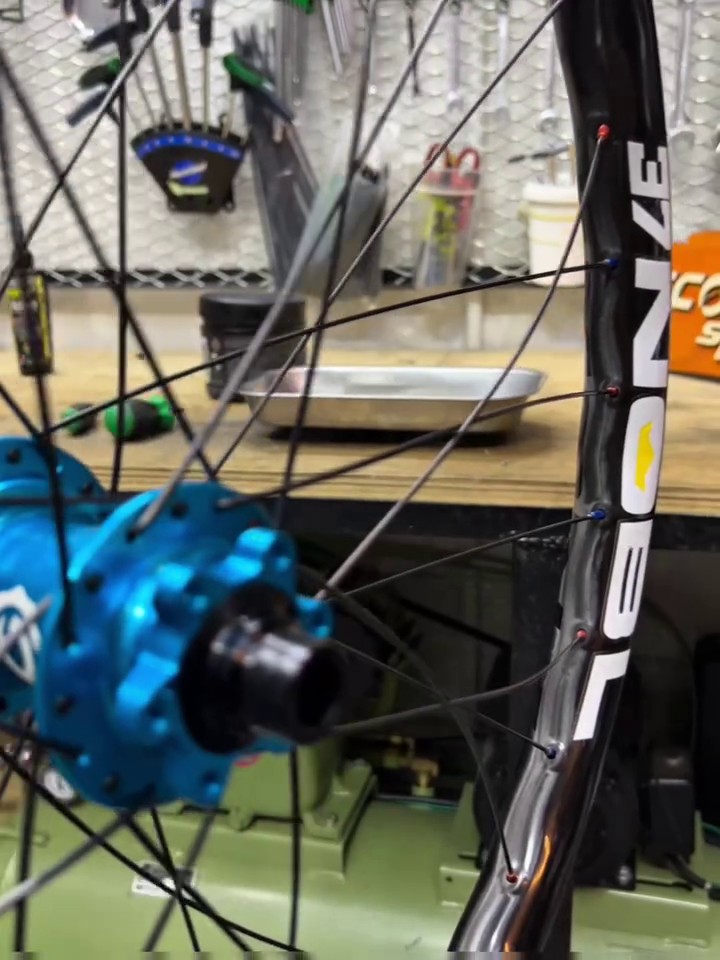
Take your time here, proper lacing sets the foundation for a true and durable wheel.
4: Tighten the Nipples
With all spokes laced, begin tightening each nipple gradually and evenly. Don't rush, tighten a few turns at a time in a cross-pattern to keep the rim balanced.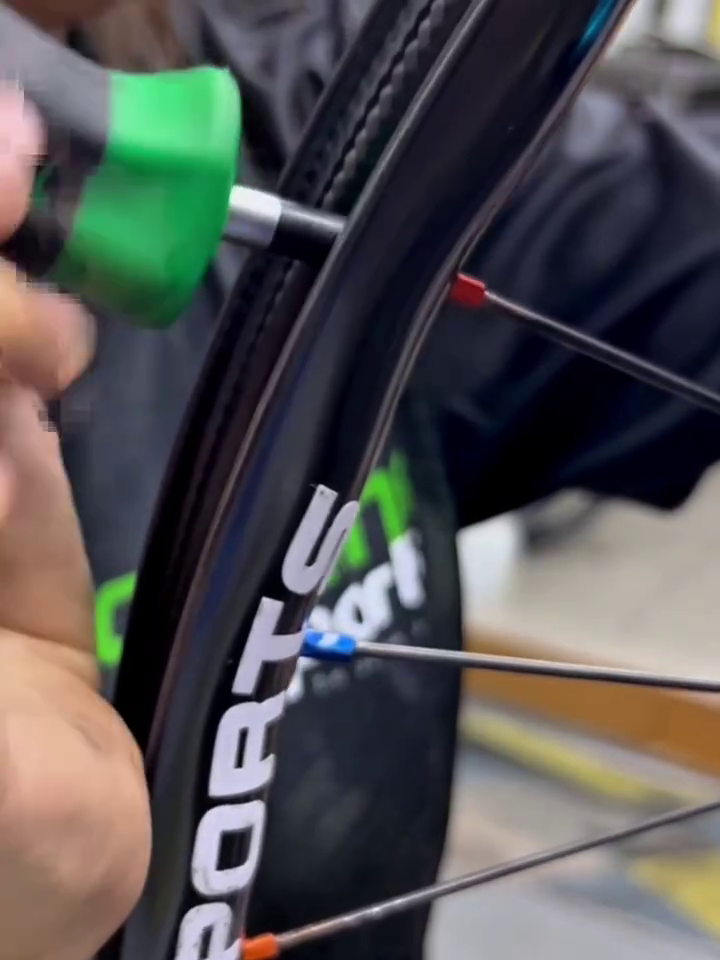
5: Distress the Spokes
once tension builds up, distress the spokes by gently flexing the spokes.
This helps settle everything and reduces future spoke loosening.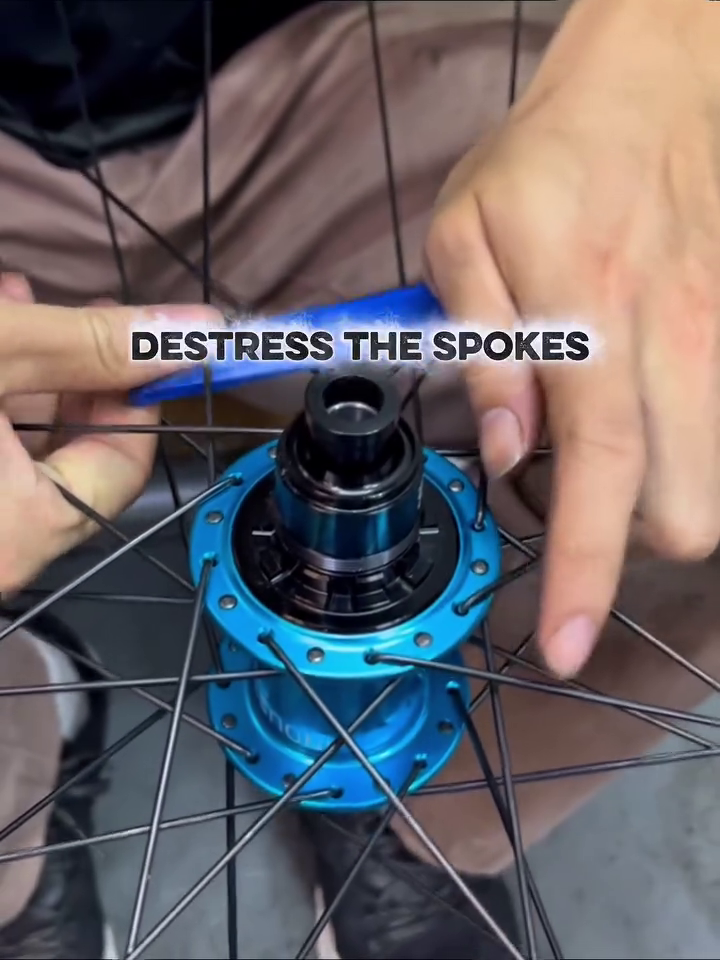
6: True and Tighten again
Now its time for truing, the art of making your wheel perfectly straight and round.
-Use a truing stand
-Adjust spoke tension gradually to eliminate wobbles and hops
-Recheck roundness and dish every few turns.
When done correctly, your wheel should spin smooth and silent.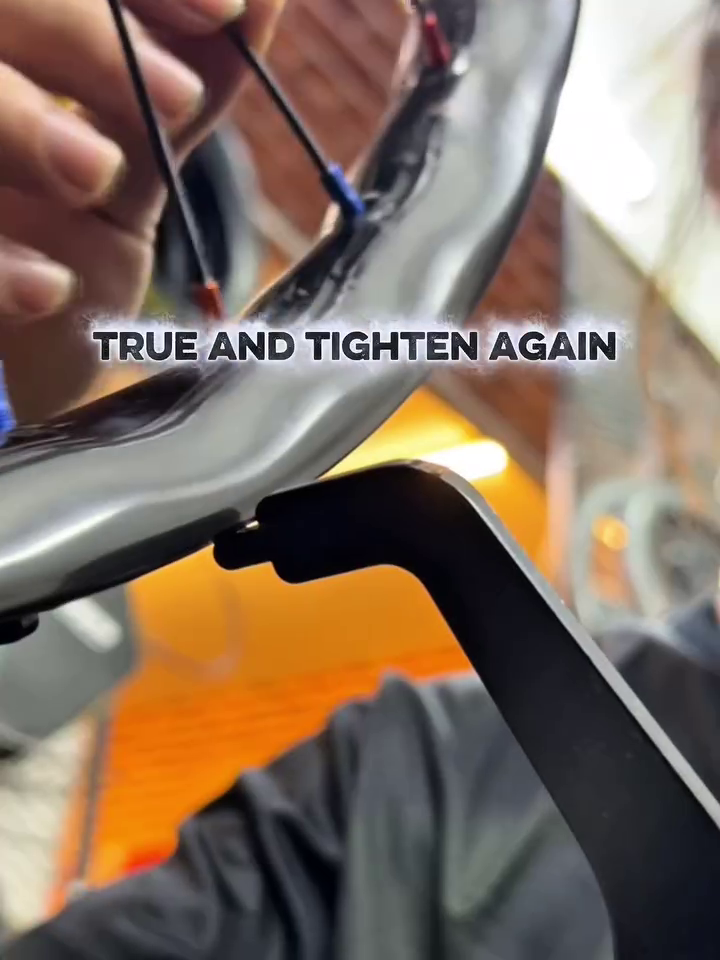
7: Check tension
Use a tension gauge.
All spokes should feel even and firm. Not too tight, not too soft.
Consistent tension = long-lasting wheels.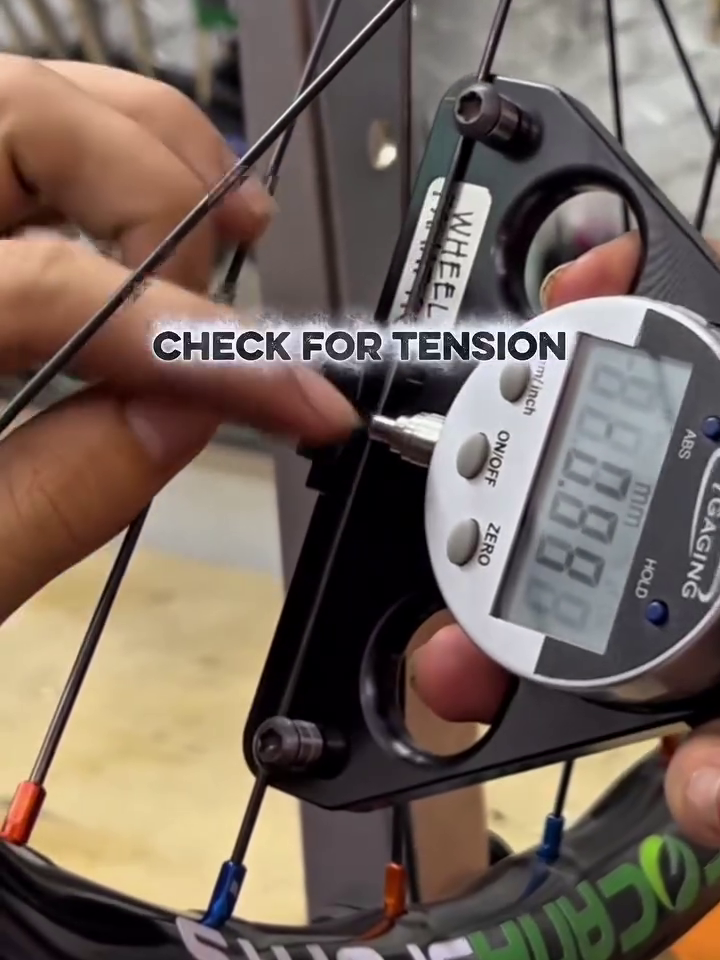
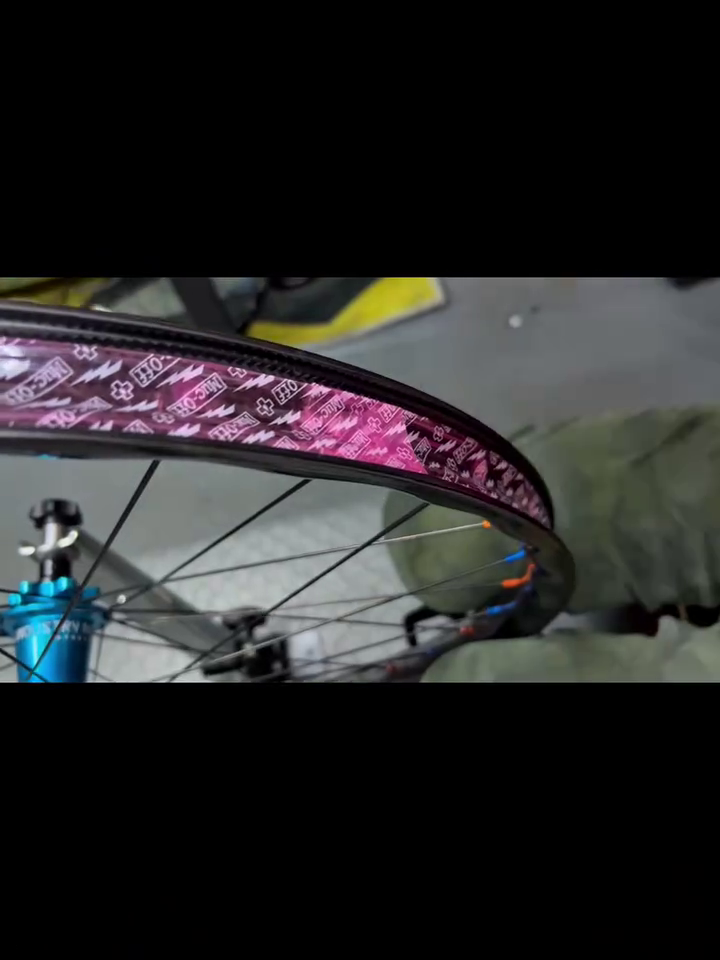
8: Apply Rim Tape
Cover the spoke holes tightly with Rim-Tape to prevent punctures.
Make sure it's centered and overlaps slightly at the end.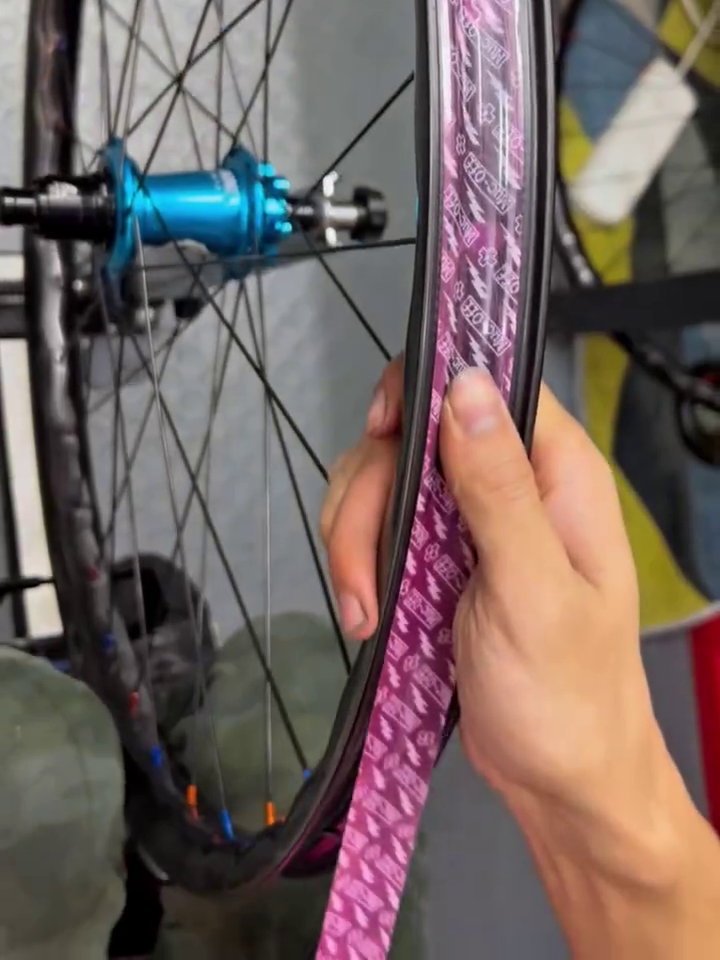
9: Install Tyre and Sealant
-Mount your tubeless compatible Tyre
-Add the correct amount of tubeless sealant
-Rotate and shake the wheel gently to coat the inside evenly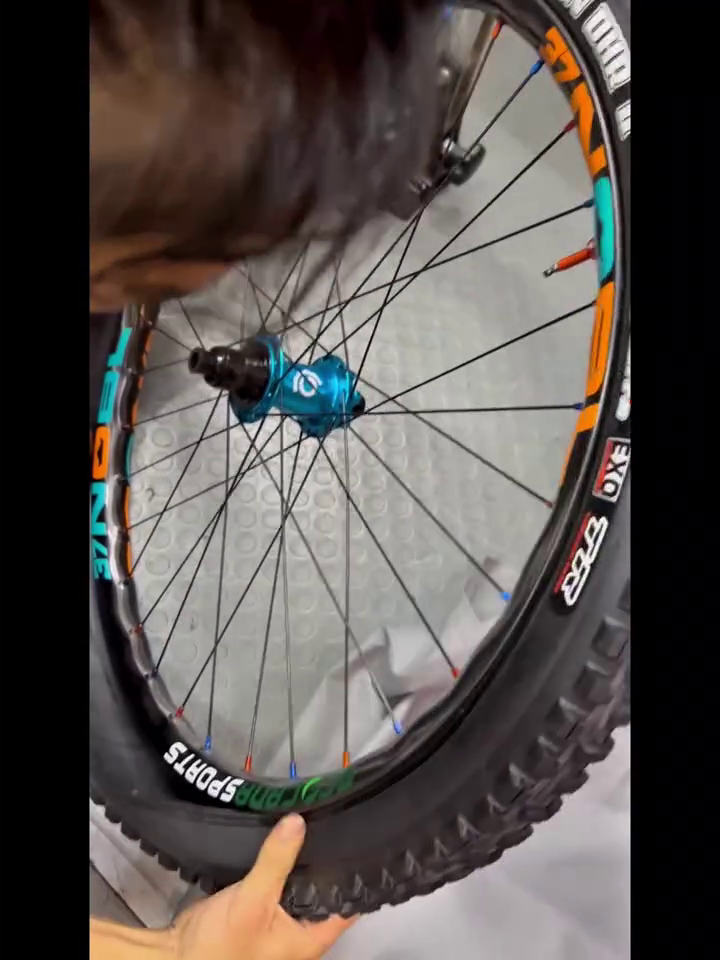
10: Pop the bead
Inflate the tyre until both beads pop securely into place.
Check for leaks, spin the wheel, and admire your work-
You just built a perfect, balanced, tubeless-ready wheelset!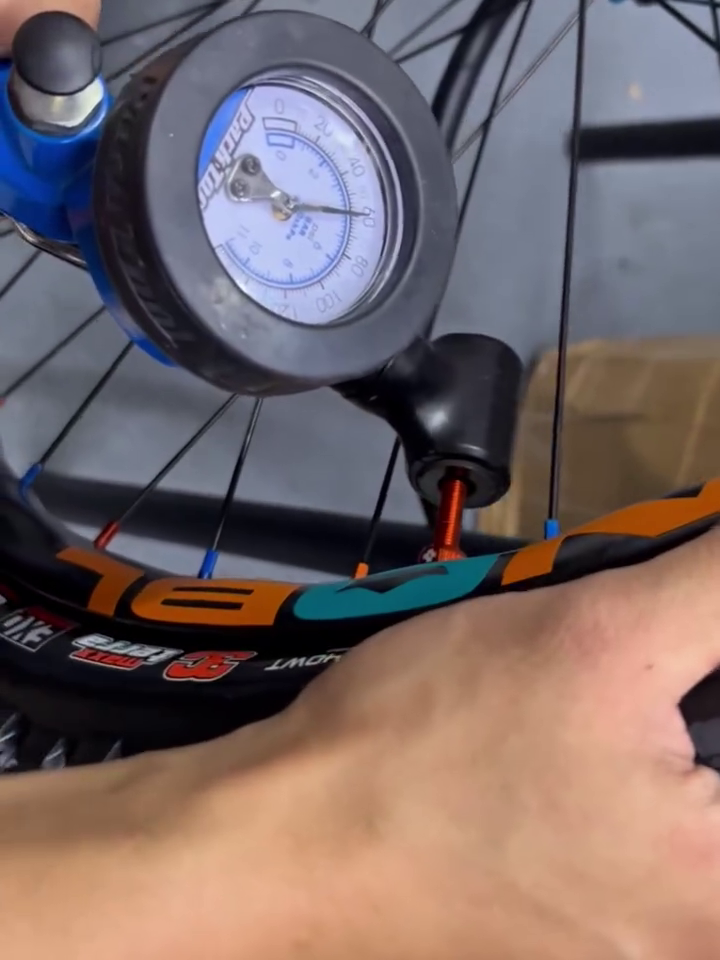
Click for Full Video
FULL VIDEO
Wheelbuilding isn't just mechanical, it's an art of precision
Every spoke turn teaches patience, focus, and craftsmanship.
So whether you’re a first-time builder or a curious rider, try it yourself — you’ll never look at your wheels the same way again.


