


Convenient
Get it at your preferred time and place

Reliable
You’d get good quality wheelie from us
Active
Just be active & alive
Welcome to Ecocana Sports, the leading mountain bike shop in Malaysia for premium mountain bike components. We specialize in carbon mountain bike components, electric full suspension bikes, and performance upgrades from brands like Magura, NOBL, and Onyx.


Blogs
YT Jeffsy 24" Kids MTB Breakdown: High-Performance..
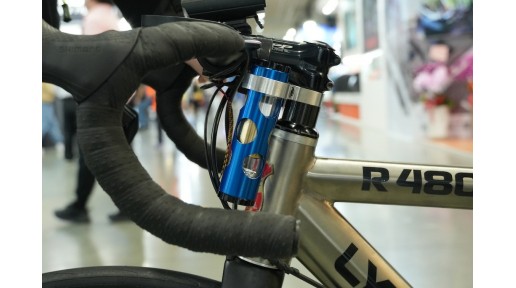
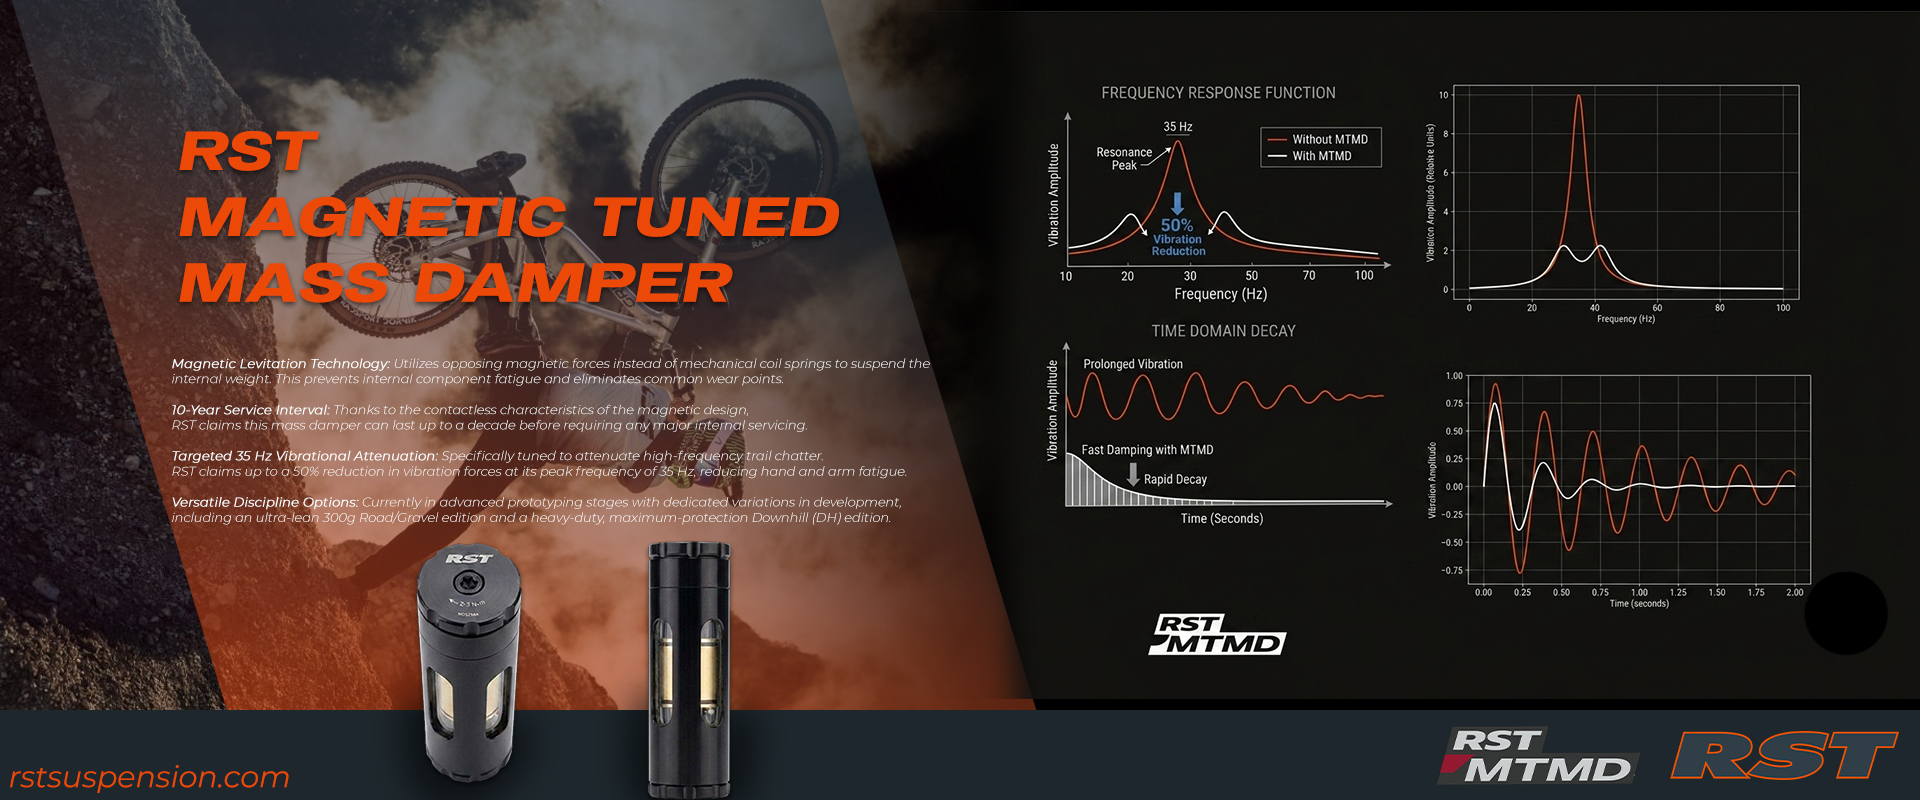
RST Magnet-Based Mass Damper: The Future of MTB Vi..
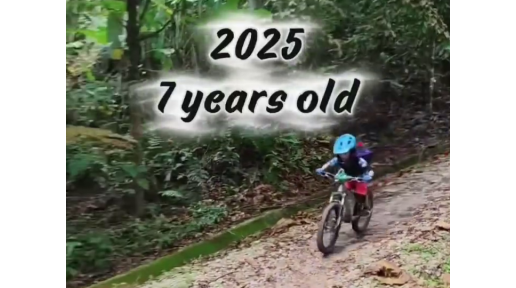
Junior MTB Progress: How Youth Mountain Bikers Bui..
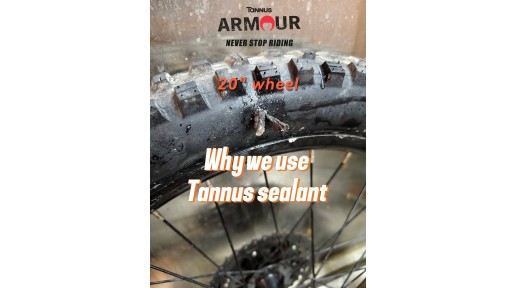
How to Fix a Sidewall Cut: Why We Use Tannus Seala..
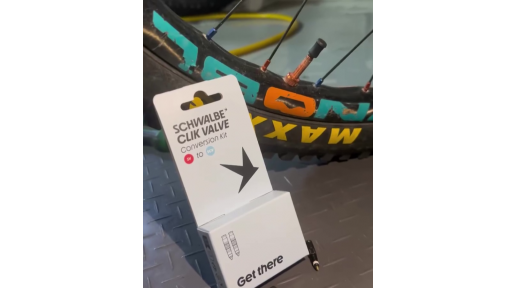
Schwalbe Clik Valve Guide: How to Convert Your Pre..
How to Teach Kids the MTB Push Technique | Junior ..
Retro MTB Upgrade: Magura HS33 Hydraulic Rim Brake..
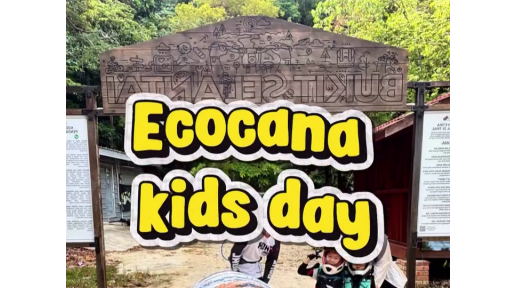
Junior MTB Coaching: Conquering Mersing’s Yip Yip ..
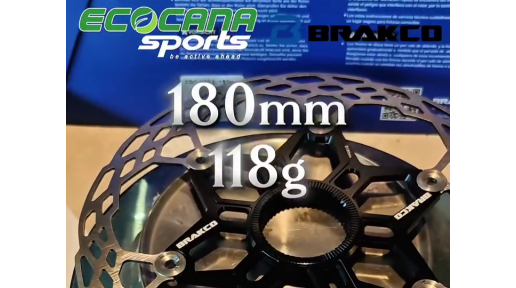
Brakco Floating Disc Rotor Weight Guide: 140mm, 16..
Mastering the MTB "Push" Technique: A Guide for Junior Riders
Learning to handle drops and technical terrain is one of the most exciting milestones for any young mountain biker. However, it requires a specific set of skills to ensure safety and control. In our latest coaching session, we focused on the Basics of Push—a fundamental movement that helps riders maintain a level bike and stable platform when descending or hitting drops.
What is the "Push" Technique?
The "push" isn't about speed; it’s about weight distribution and timing. When a rider approaches the edge of a drop, the goal is to keep the bike parallel to the ground rather than letting the front wheel dive. By "pushing" the bike forward as the front wheel leaves the trail, the rider ensures that both wheels land more or less simultaneously, or that the rear wheel takes the impact first.
Why It’s Critical for Kids
Junior riders often have less body mass to move around. Learning to use their arms and hips to project the bike forward prevents the "Ono" moment—where the bike tips forward, leading to a potential over-the-bars (OTB) crash.
Step 1: Flat Ground Drills (The Foundation)
Before hitting the trails, we started on flat ground. This allows the kids to focus on the biomechanics without the fear of a height drop.
The "Come Down": We teach the riders to lower their center of gravity first. By bending the elbows and knees, they "load" their body like a spring.
The Forward Extension: At the designated "push point" (marked by cones), the rider explosively pushes the handlebars forward.
The Level Finish: The result should be the front wheel lifting slightly or the bike moving ahead of the rider’s torso, mimicking the motion needed to clear a ledge.
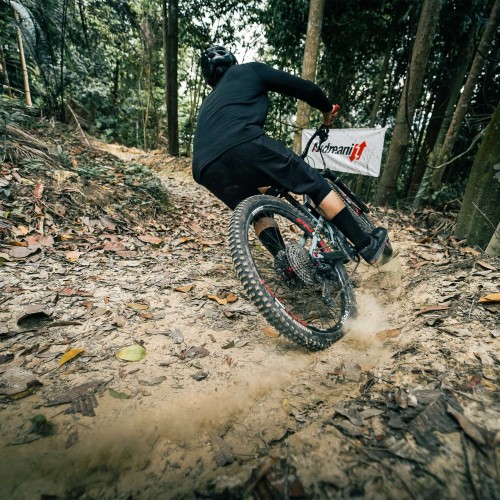
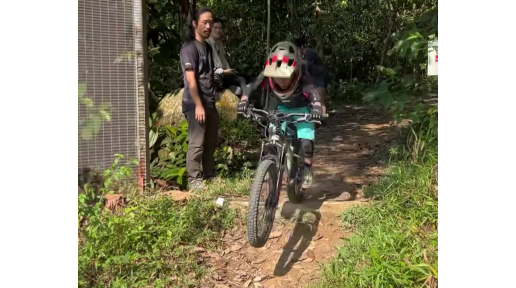
Step 2: Application at the Trails
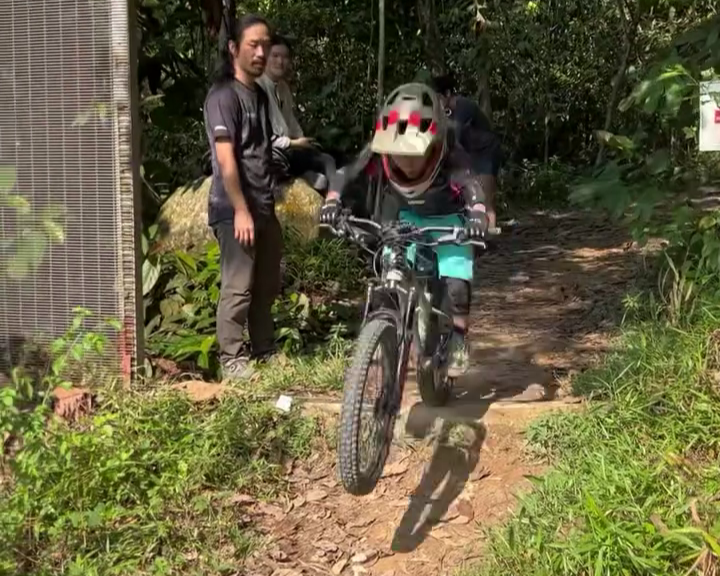
Once the movement became muscle memory, we moved to a real-world scenario: a small trail drop.
Visualizing the Airtime
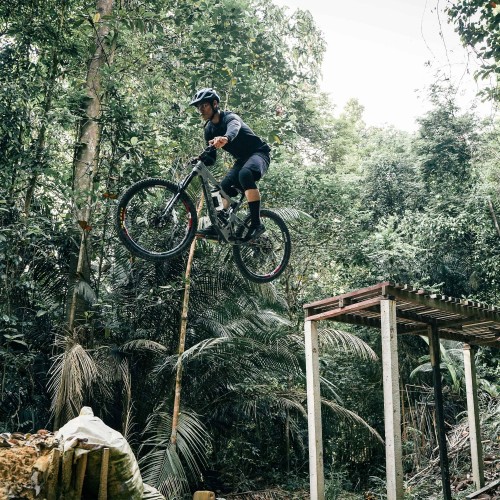
Coaching on the trail involves helping kids visualize where the bike needs to be in the air. As shown in the video, the coach demonstrates the bike's trajectory. The "push" should happen right as the front tire reaches the edge of the drop.
Overcoming the Fear Factor
By practicing on a small, manageable ledge, junior riders learn that the "push" gives them more control, not less. Seeing their peers succeed builds a supportive environment that makes learning technical skills fun rather than intimidating.
Tips for Parents and Coaches
If you are teaching a young rider at home, keep these three things in mind:
Exaggerate the Motion: Kids often think they are pushing further than they actually are. Encourage them to "extend those arms!"
Focus on Neutral Position: Ensure they aren't leaning too far back or too far forward before the push.
Low and Slow: Practice on curbs or small roots before moving to bike park drops.
Join Our Next Coaching Session
At Ecocana Sports, we specialize in breaking down complex MTB skills into bite-sized, achievable steps for youth athletes. Whether it’s mastering the push, perfecting cornering, or gaining confidence on jumps, our goal is to build the next generation of shredders.
Stay active, stay ahead!
